How to get EHEDG certified comes down to six steps: prepare the design against EHEDG guidelines, contract an Authorised Evaluation Officer (AEO), pass a design review, pass cleanability testing where the equipment type requires it, have the certification file reviewed by a second AEO, and receive a certificate for that specific design, valid for five years. This page explains each step from a machine builder's or component maker's side, what drives the timeline, and how certified components reduce the work. For what a certificate means once you have one, see the EHEDG certification guide.
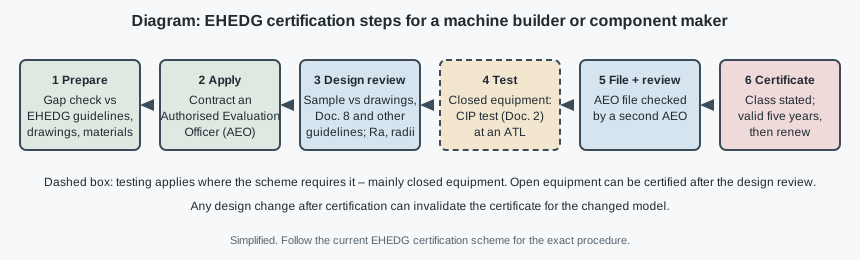 the EHEDG certification process for a machine builder. Schematic, not a product test report.
What gets certified – and what does not
Before the application, use the guideline document-selection and design-review workflow to identify the relevant guidance and evidence.
EHEDG certifies equipment designs: a specific model of pump, valve, conveyor, foot, bearing unit or fastener, in a stated certification type and class (for example EL Class I for wet cleaning in place, EL Class II for wet cleaning after dismantling, ED for dry cleaning). It does not certify factories, companies, quality systems or materials. A certified design remains certified only as built; a change to geometry, seals or materials can take the changed model outside the certificate. Certification is voluntary – no law requires it – but customers and retailers often write it into specifications.
The EHEDG certification process step by step
| Step | Who | What happens | What you provide |
|---|---|---|---|
| 1. Preparation | Your design team | Gap check of the design against EHEDG Doc. 8 (hygienic design principles) and equipment-specific guidelines | Drawings, bill of materials, material and elastomer specs |
| 2. Application | You and an AEO | Choose type and class; agree scope (which models and sizes) | Product description, intended cleaning method |
| 3. Design review | AEO | Sample compared with drawings; features such as surface roughness Ra, internal radii, drainability and seal design checked | Production-representative sample, full drawings |
| 4. Testing (where required) | Authorised Test Laboratory (ATL) | Closed equipment is tested for in-place cleanability to EHEDG Doc. 2; aseptic classes need further tests | Test unit, installation and cleaning instructions |
| 5. Certification file | AEO, then a second AEO | File prepared and independently reviewed | Answers to findings, corrected drawings if needed |
| 6. Certificate | EHEDG | Certificate issued and listed publicly; valid five years | – |
Surface roughness Ra is the average height of surface irregularities; EHEDG guidance gives Ra ≤ 0.8 µm for product-contact surfaces. Drainability means liquid runs off without standing in pockets (dead spaces). Both are typical findings in step 3.
Ask NHK's technicians about certified components for your design
Preparing the design: where certifications usually stall
Most delays come from findings in the design review that send the drawings back. Before applying, check:
- Crevices and metal-to-metal joints in product-contact areas – gaps narrower than cleaning can reach.
- Exposed threads and fasteners in the product or splash zone (the splash zone is the area reached by product splash and cleaning water).
- Seal design: elastomers that are flush, defined in compression and compatible with product and cleaning agents (EPDM, FKM and VMQ behave differently with fats, acids and steam).
- Horizontal surfaces and ledges that do not drain.
- Internal radii in corners – tight corners hold soil.
- Materials and declarations: food-contact materials under EC 1935/2004, plus plastics under EU 10/2011 where used.
- Bought-in parts – feet, bearing units, bolts, sensors – each of which must meet the same rules as your own parts.
The last point is where many machine builders lose time: a well-designed frame fails on a standard bolt or an exposed-thread foot. The zone-by-zone rule in standard parts in hygienic design helps decide which bought-in parts need substitution.
Test methods
- Design review applies to all equipment. Open equipment – conveyors, many cutting and handling machines – can go to certification after a successful design review.
- In-place cleanability test (EHEDG Doc. 2) applies to most closed equipment. The unit is soiled with a standardised test soil containing bacterial spores, cleaned under defined conditions, and compared with a reference pipe section. Areas that stay soiled reveal where the design does not clean.
- Aseptic classes add tests for sterilisability and bacteria-tightness, following EHEDG's methods for those properties.
Check the current EHEDG certification scheme for the methods that apply to your equipment type; the scheme is revised with the guidelines.
What drives the timeline
EHEDG does not publish a fixed duration, and it varies widely. The main drivers are:
| Driver | Shortens | Lengthens |
|---|---|---|
| Design maturity | Gap check done, findings fixed before applying | Design changes during review |
| Equipment type | Open equipment, design review only | Closed equipment needing laboratory tests; aseptic classes |
| Scope | One model or a clear size range | Many variants, options and materials |
| Bought-in parts | Certified or clearly hygienic components with documentation | Standard parts that must be redesigned or replaced |
| Documentation | Complete drawings, material declarations, cleaning instructions | Missing or inconsistent drawings |
| Laboratory capacity | Test slot booked early | Waiting for an ATL slot; retests |
How certified components shorten the work
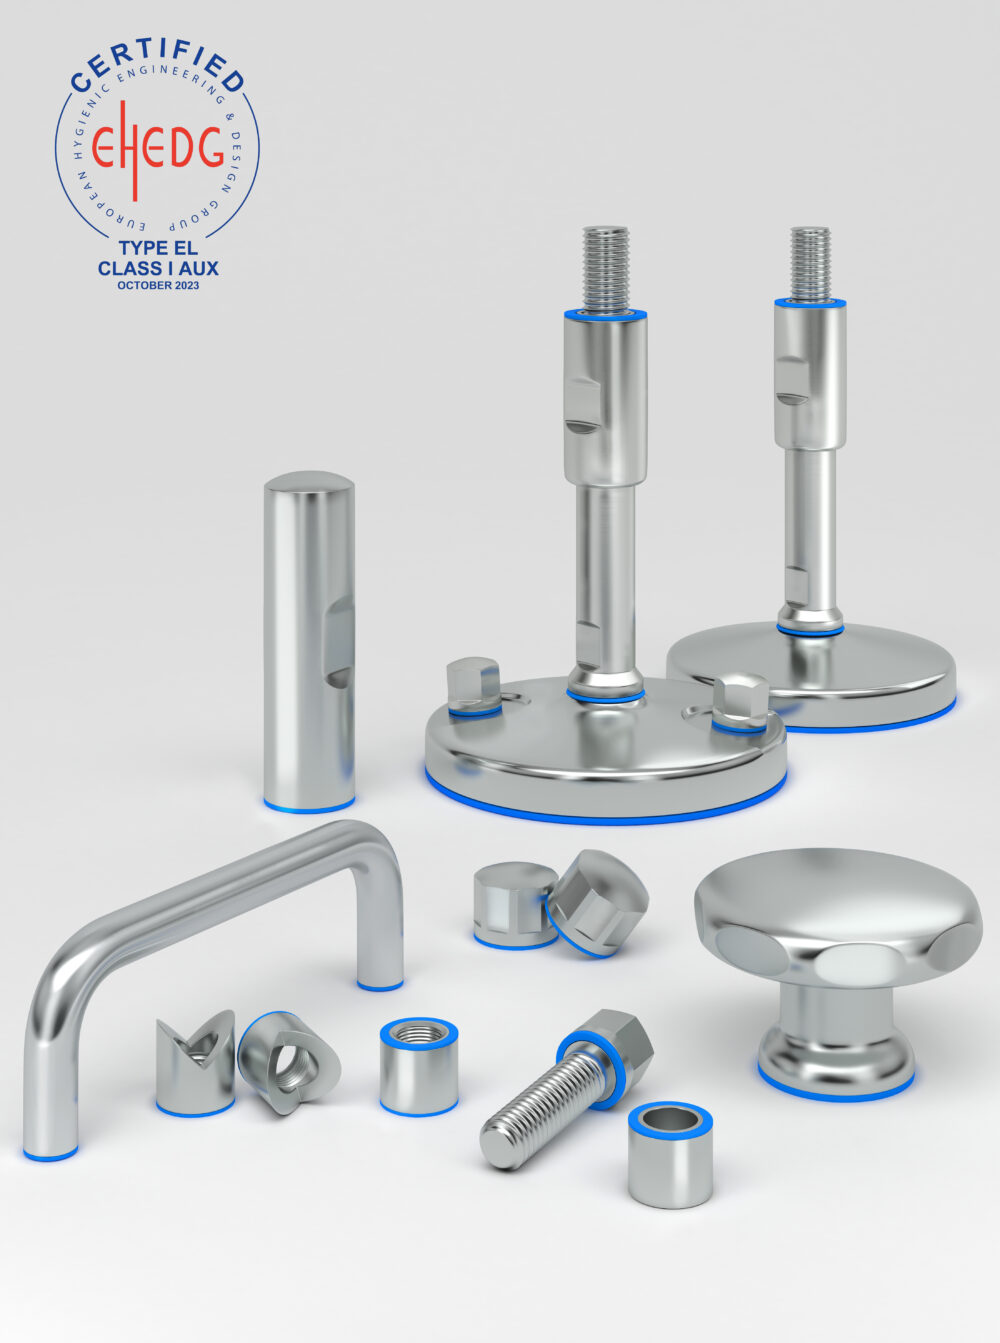
Certified components do not make your machine certified – the AEO evaluates the assembly as a whole, including how each component is mounted. They do shorten the work: the component's own design has already been reviewed, so the discussion moves to the interface – the joint between foot and frame, the bearing's mounting and cover, the bolt's seal against your surface. Ask for each component's certificate (number, type and class), check that the class matches your cleaning method, and mount it exactly as the certified installation describes.
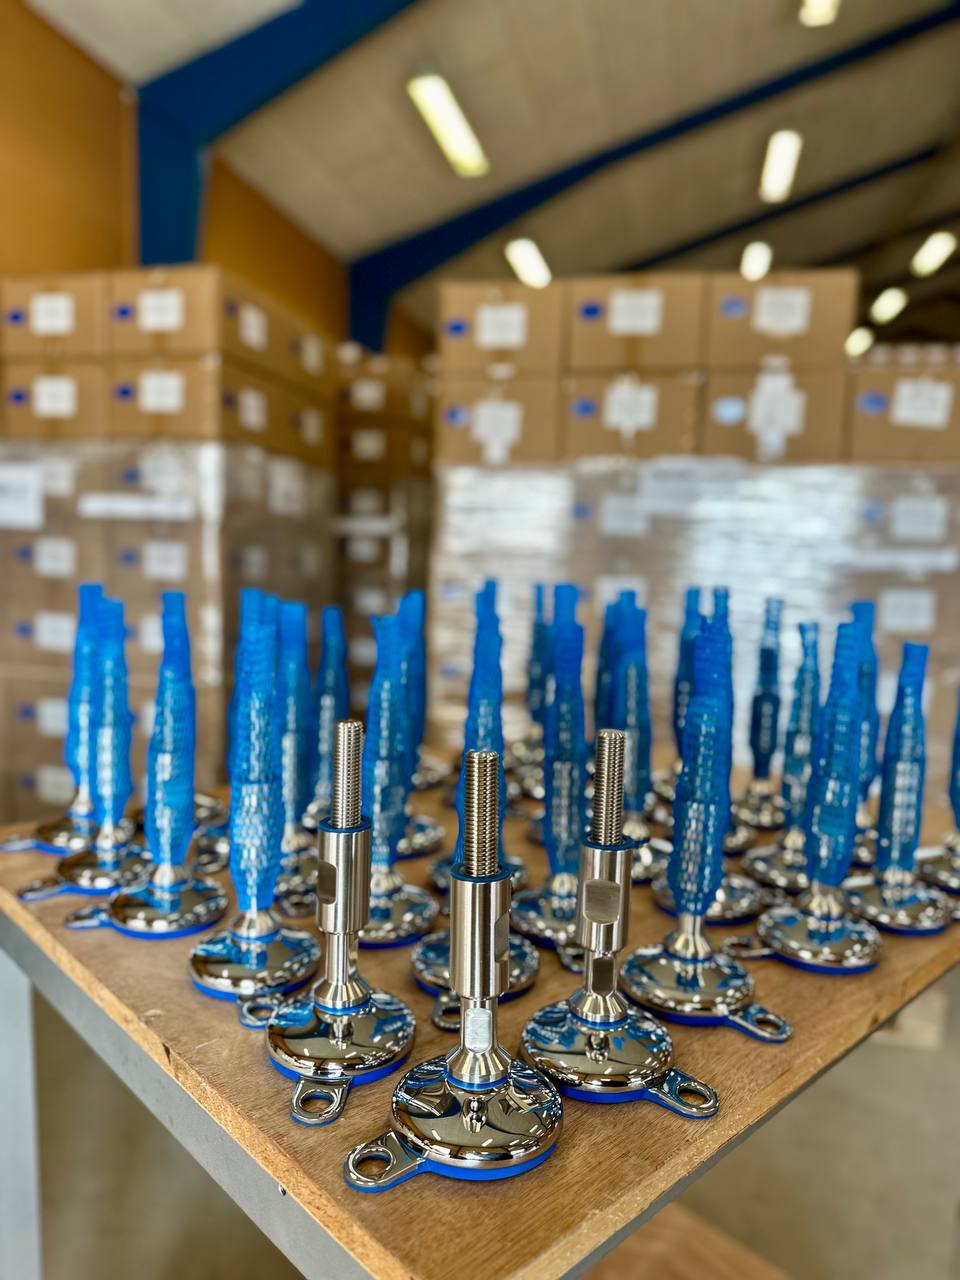
Example (assumed situation, for method only): a builder of an open conveyor for meat cutting rooms targets EL Class II. The first gap check finds 40 socket-head bolts in the splash zone, four exposed-thread feet and two cast-iron bearing units with open ends. Replacing them with certified hygienic bolts, certified levelling feet and sealed hygienic bearing units removes three classes of findings before the AEO sees the machine; the remaining review concentrates on the belt support, side guides and frame welds. The certificates of the bought-in parts go into the certification file. For feet, NHK holds EHEDG certificate C2400039 for its listed levelling-foot designs; compare the supplied model and variant with the certificate instead of assuming the SHAF adjustable-foot listing is covered. See NHK's certifications.
Common mistakes
- Applying before the design is frozen, then changing it during review.
- Choosing a class that does not match how customers actually clean the machine.
- Treating "designed to EHEDG guidelines" on a supplier datasheet as equal to a certificate.
- Mounting a certified component differently from its certified installation.
- Forgetting renewal: certificates are valid for five years.
The register-to-offer certificate verification checklist helps check suppliers' claims before bought-in parts are approved. For the US route, 3-A Symbol authorisation follows a Third Party Verification against a 3-A Sanitary Standard – see EHEDG and 3-A certified components.
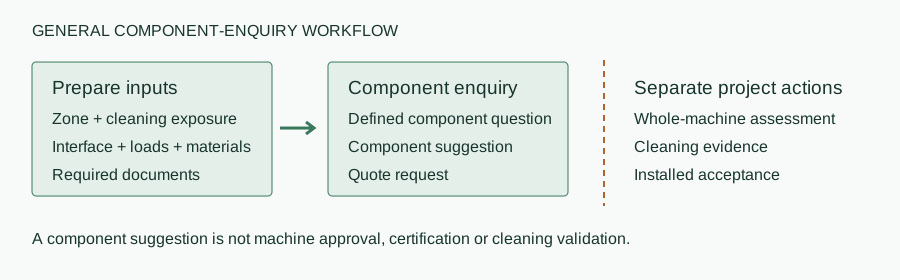
What to send NHK when you prepare for certification
- Machine type and target EHEDG type and class
- Cleaning method used by your customers
- List of bought-in parts to review (feet, bearing units, bolts, brackets) with sizes
- Material grade and food-contact requirements
- Whether you need certified components or hygienic design is enough
- Quantities and delivery country
Send these details to NHK
An NHK technician suggests suitable certified or hygienic components and sends the certificates and a quote.